How To Setup A Business Card In Adobe Photoshop
Become a Jedi Master at creating business cards.
This tutorial will cover the proper way to setup business cards for printing in Adobe Photoshop, but can also be applied to other similar software. I often get files from clients that are setup at the wrong DPI (Dots Per Inch), incorrect color mode (RGB instead of CMYK), and or no bleeds (art extended over cut line).
Step 1: Create A New Document
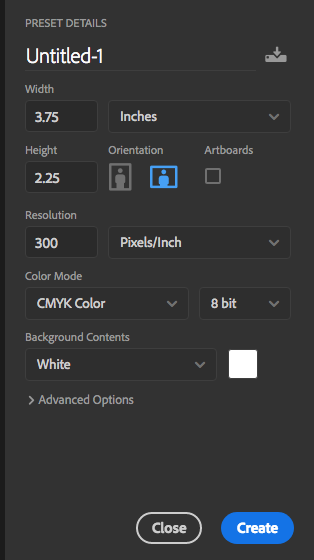
Open Photoshop and go to menu up top. Select File then New. In the Width field enter 3.75 (inches) and for the Height put 2.25. If you want to design a vertical business card you would switch these, 3.75 for height and 2.25 for width. In the Resolution field enter 300 (pixels/inch). Color Mode should be CMYK Color, 8 bit. For the Background Color choose White, or any color you’d like to start off the card with. Press Create.
Step 2: Setup Your Margins
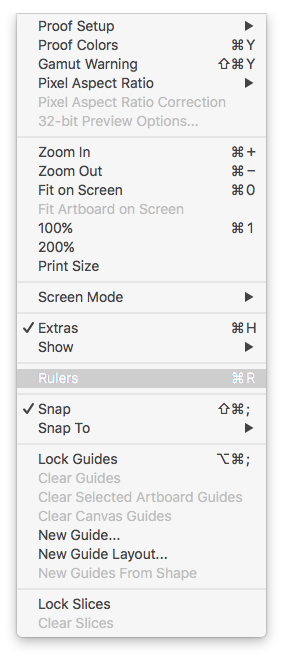
Now that you have your blank untitled document open on the screen, head up to the top menu again. Select View, then Rulers.
Go to the top ruler bar, hold down the mouse button and drag down a guide line to 1/8″ (0.125).
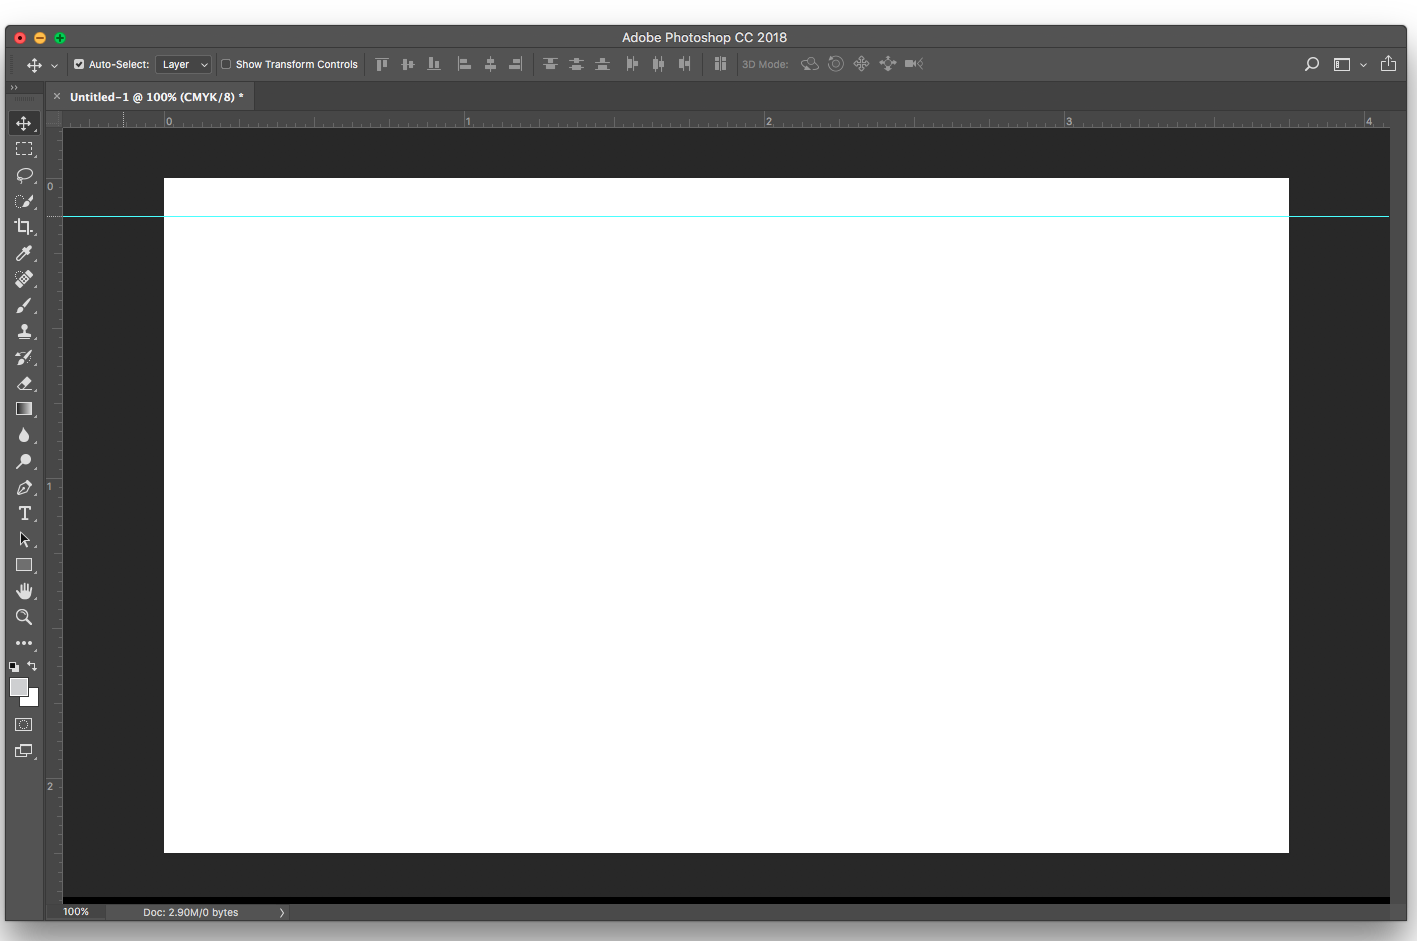
Repeat the last step for the other 3 sides of the rectangle.
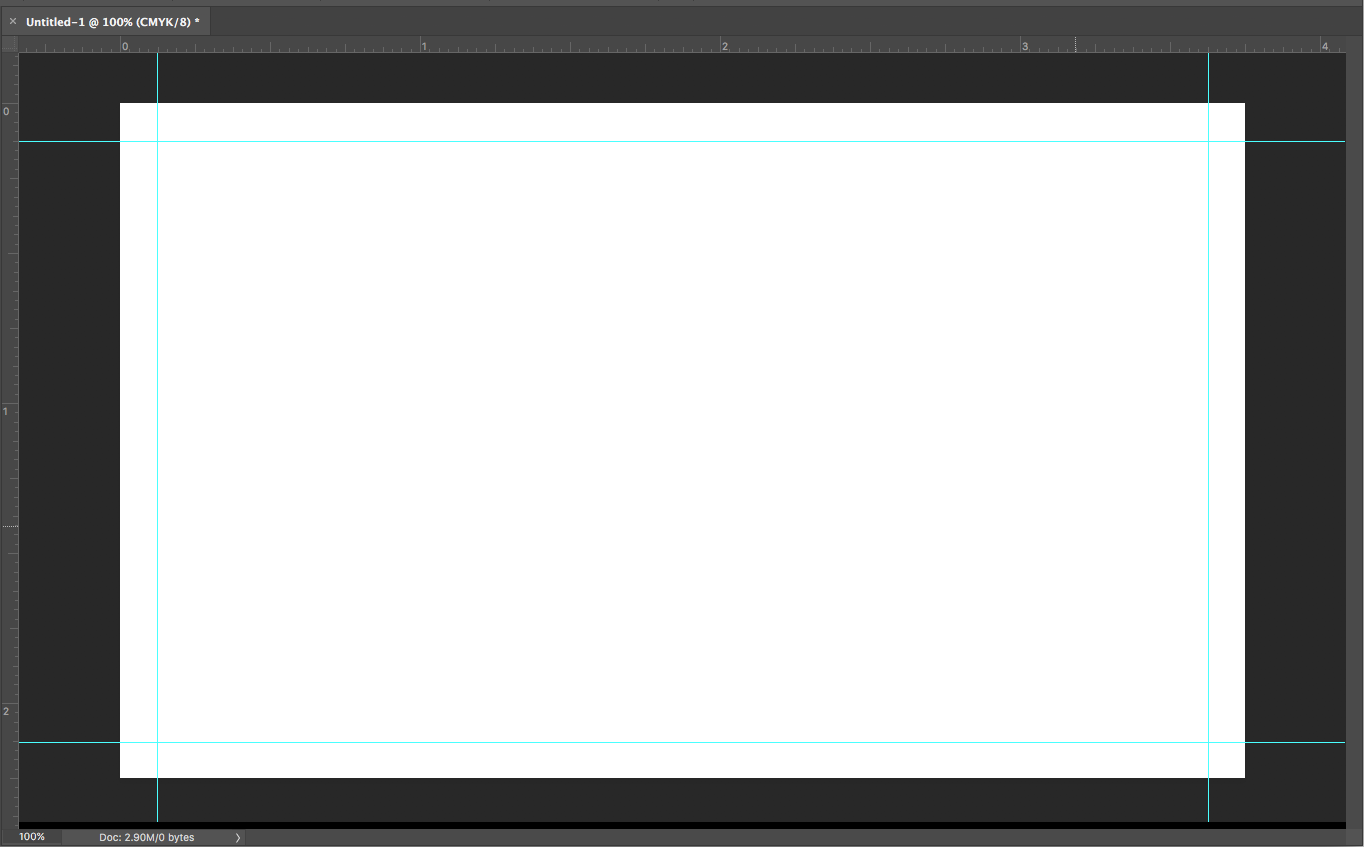
I also recommend adding 4 more guidelines to create what is called the “safe area”. Creating this space helps when you are designing the business card, making sure any text or images placed within this area will not be cutoff.
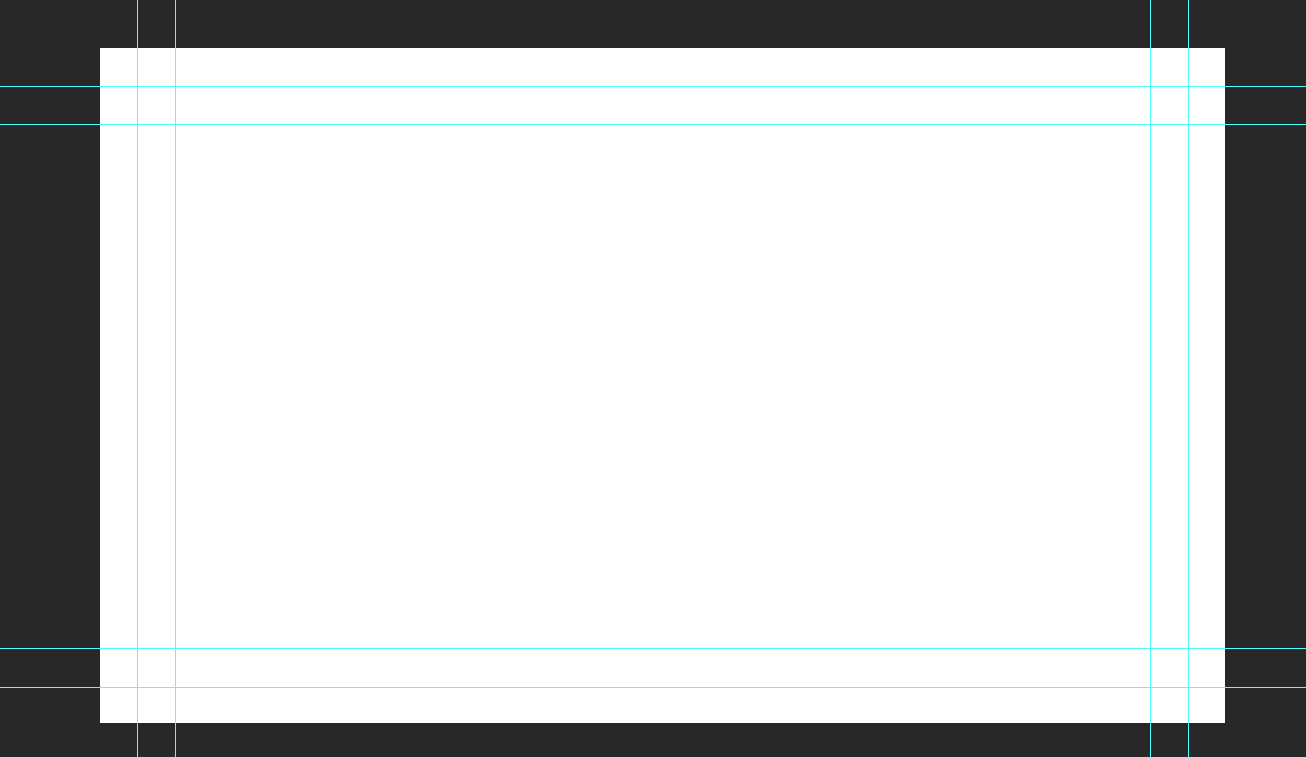
So to recap, the first set of margins/guides setup are the cut lines. This is where after your business cards are printed they will be cut. You may be asking yourself “why not just setup the cards at 2″x3.5″ to make things easier?”. If you do not add this extra 1/8″ (or more) space on all sides of your cards there will be a tiny white border around the business cards after cutting. This added extra space is what’s called “the bleed”.
Step 3: Design Your Business Card
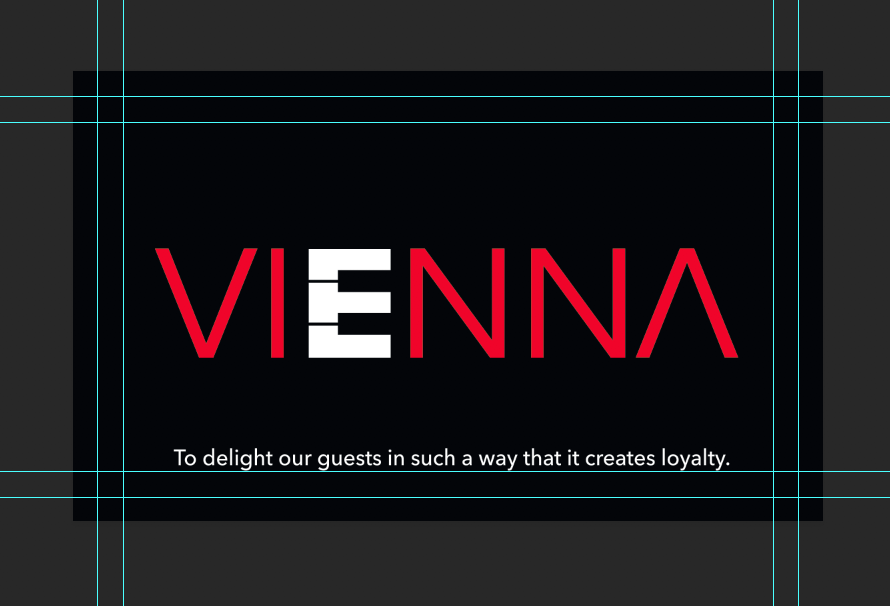
Design up your awesome card. If you are creating a double-sided business card, just add other layers for other side’s art (or setup another PSD file). One quick design tip, if you are using black in your layout do not just make it 100% black (K). For a nice deep black to be printed use C 36 M 25 Y 25 K 100 in the color mixer. This tutorial is mainly for setting up the card. We will talk about design in future articles.
Step 4: Save Your Business Card
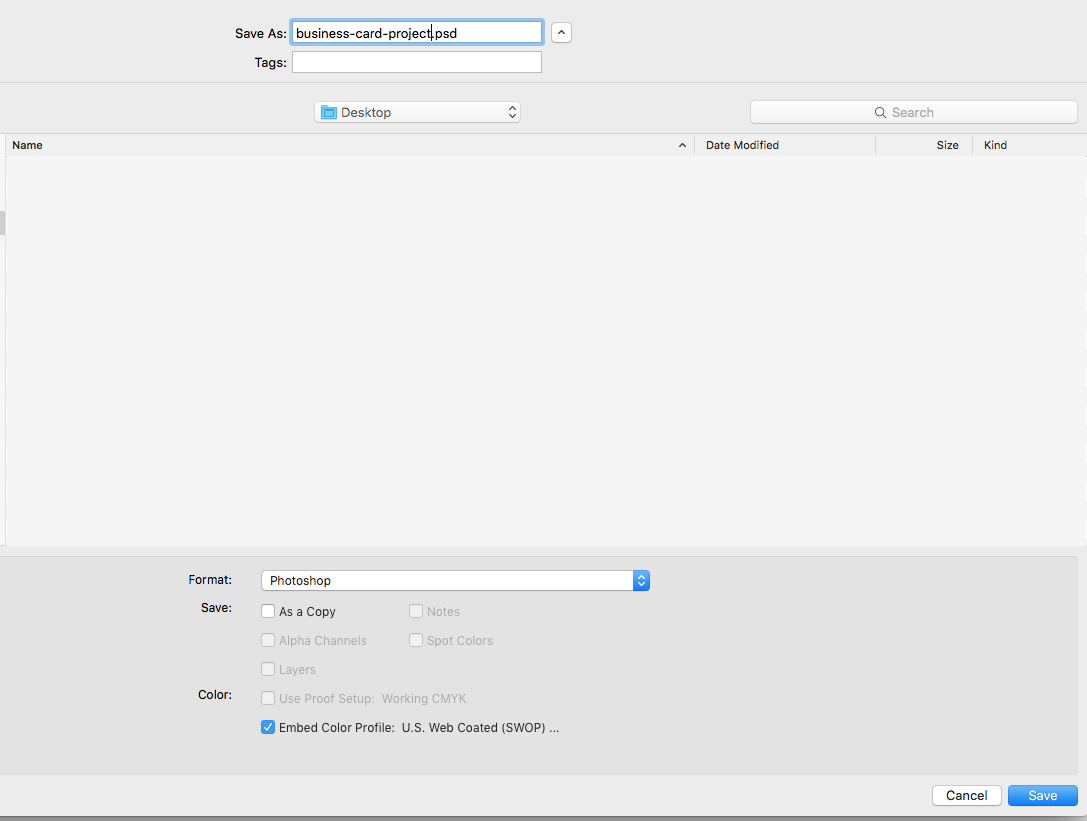
It’s very important to save your layered Photoshop document in case you have changes in the future. This will be your master file. Don’t lose it!
Step 5: Send To Print
Some printers will accept PSD (Photoshop) files but I prefer PDF flat files. EPS, TIFF, and JPG files are good as well but for this lesson it’s PDF. This will make the file size smaller plus avoid any font and color issues. Up top go to Layer, Flatten Image. DO NOT hit save.

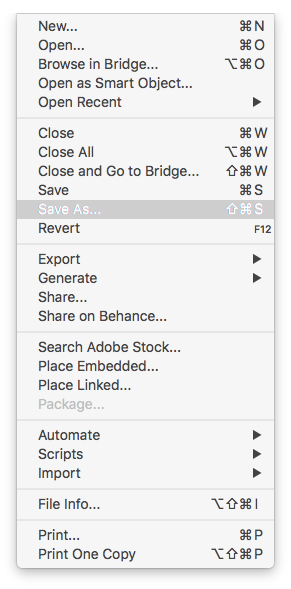
Again, go up top and select File, Save As..
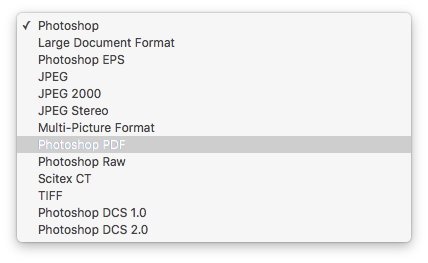
Select Photoshop PDF.
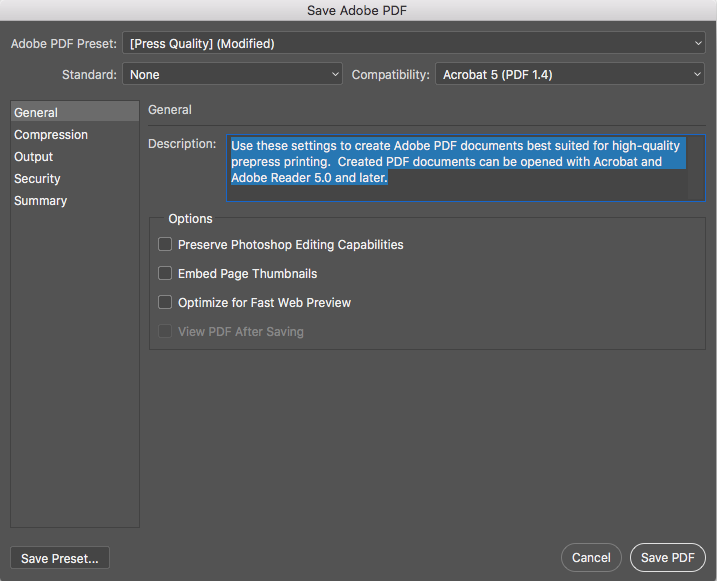
PDF options menu will appear. Select Press Quality and make sure the options below are unchecked.
That’s it. Now your 300 dpi CMYK business card file with bleed is ready to be emailed or uploaded to the printer. Make sure to proof read everything on your card and keep in mind colors will look slightly different printed than on your computer screen.
If you need further help please email me at joe@loudegg.com
