Draw In Adobe Illustrator

There are many drawing tools out there. I love to draw cartoon characters using Adobe Illustrator. While many prefer creating in Adobe Photoshop, Illustrator is my digital program of choice. Don’t get me wrong, just about all of Adobe’s Creative Cloud software is amazing. Just for digital drawing, nothing beats Adobe Illustrator.
Adobe Illustrator is one of the best SaaS tools based on vector graphics, meaning it works with coordinates while Photoshop is a raster graphics program that works with pixels. The benefit of working with a vector program like Illustrator is that your artwork can be scaled larger and not lose quality. If you enlarge a raster image it will look blurry or pixelated.
In this tutorial we will cover the main drawing tools Adobe Illustrator offers such as the pencil, brush, pen, and vector shapes.
Let’s Get Started
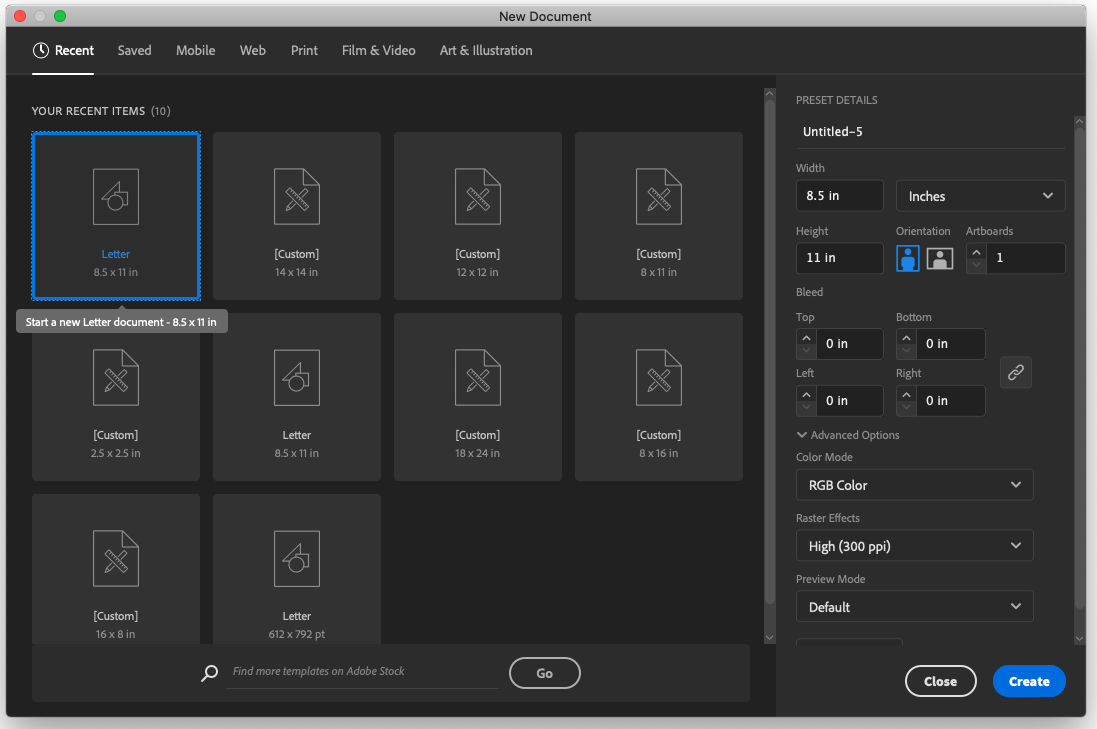
First step is to open up Adobe Illustrator and create a new document. Goto File > New (Keyboard shortcut Command N on Mac • Ctrl N on Windows).
Select your document size, which will be displayed in inches or pixels depending on your preferences. You may also just click on one of the recommended sizes displayed. We will just go with 8.5 x 11 and RGB color mode for this. Press Create.
Become Familiar With Illustrator
On the left side you will see the Adobe Illustrator tools dock. Depending on your workspace preferences and which version of Adobe Illustrator you are using, they may be displayed slightly different.
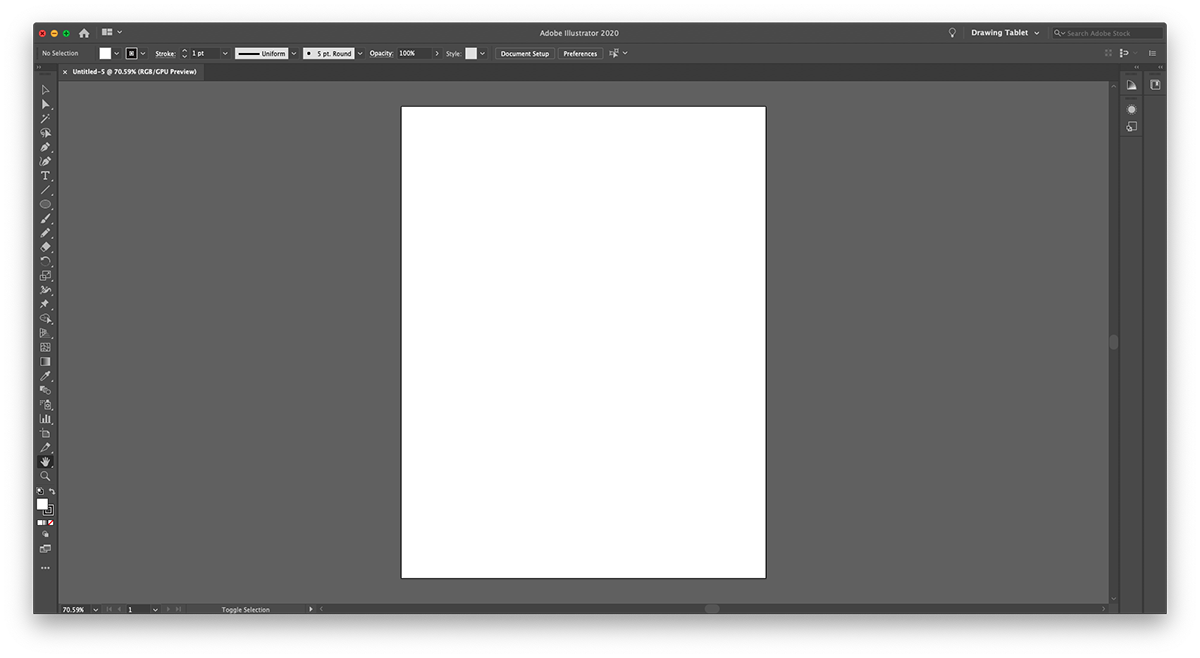
From top to bottom these will be the items we will be using, and their keyboard shortcuts:
 Adobe Illustrator Tools Keyboard Shortcuts
Selection Tool = V
Direct Selection Tool = A
Pen Tool = P
Ellipse Tool = L
Brush = B
Pencil = N
Eraser = Shift + E
Rotate Tool = R
Scale Tool = S
More Adobe Illustrator Keyboard Shortcuts
Undo = Command Z (Mac) • Ctrl Z (Windows)
Copy = Command C (Mac) • Ctrl C (Windows)
Paste = Command V (Mac) • Ctrl V (Windows)
New Document = Command N (Mac) • Ctrl N (Windows)
Save = Command S (Mac) • Ctrl S (Windows)
Bring To Front = Shift Command ] (Mac) • Shift Ctrl ] (Windows)
Send To Back = Shift Command [ (Mac) • Shift Ctrl [ (Windows)
Zoom In = Command + (Mac) • Ctrl + (Windows)
Zoom Out = Command – (Mac) • Ctrl – (Windows)
Let’s Sketch
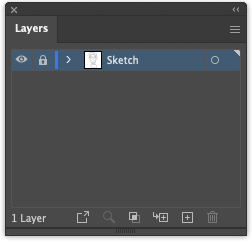
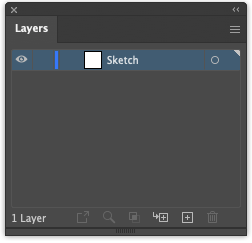
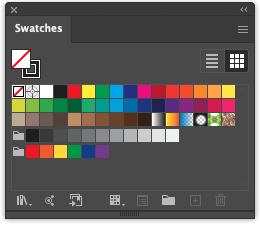
I prefer the Brush Tool to sketch a rough drawing. Look for your Layers window, or open it by going to Window > Layers. Double click on Layer 1 and rename it Sketch. Goto Swatches palette ( Window > Swatches). Click on no color, then click on outline and select a light grey.
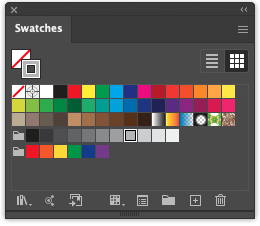
Select the Brush Tool or on the keyboard press B.
![]()
You can select different brush types and sizes from the Brushes window (Window > Brushes). I usually like to go with a basic paintbrush Adobe Illustrator offers, though there are some nice brushes available for download out there.
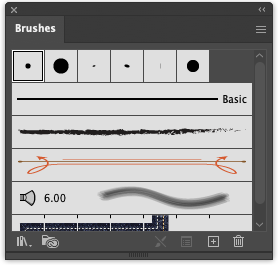
Sketching Circles
Draw a circle. May look a little un-circle like? That’s ok.

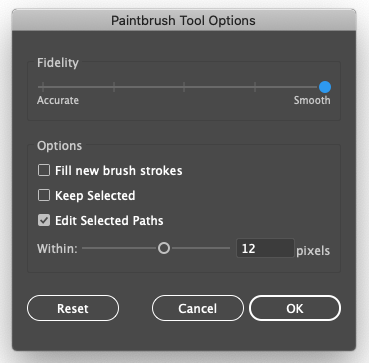
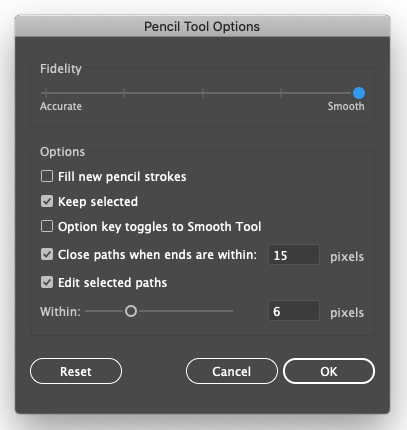
Now double click on the Brush icon. A window will pop up and drag the Fidelity over to the right to Smooth.
Draw another circle. Looks more circle like, right? Keep this in mind when you are drawing for certain pieces you will want more accuracy in your Brush Tool, while at other times you want it to smooth out.
Double click on Brush icon again and bring the Fidelity back to the middle.
Click on the Selection Tool (V) and drag over both circle like shapes, then hit delete.
I like to start by sketching out my art. Select the Brush Tool (B) still using the light grey color and on layer named Sketch. Let’s draw an oval like shape for the head, then neck and upper body. Let it be loose, it’s ok. This is just to get an idea.
Sketching Heads
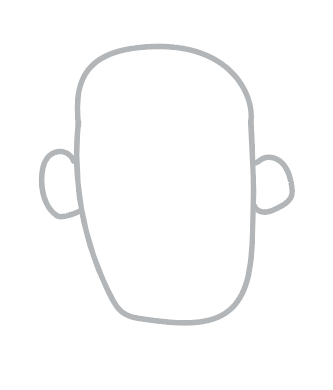
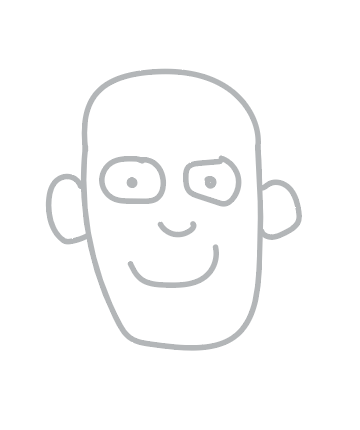
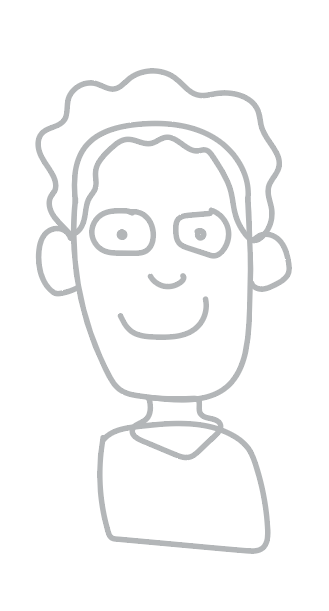
If you want to erase, use the Eraser (Shift E) to clean things up.
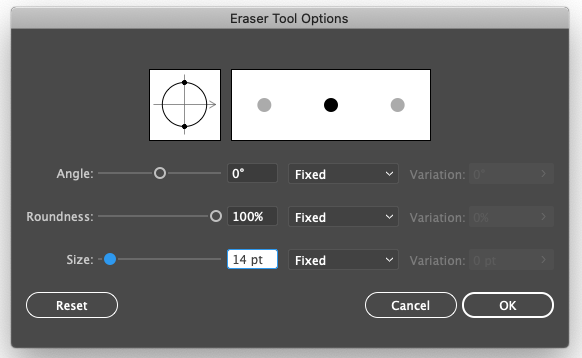
You may change the Eraser size by double clicking on the Eraser icon.
Important: Make sure and save… just in case you actually want to keep this file. File > Save or Command S (Mac) • Ctrl S (Windows).
If you want to move any of the shapes or the entire sketch around click the Selection Tool (V) and select and move what you’d like.
Let’s Draw
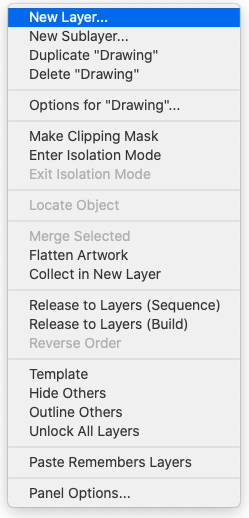
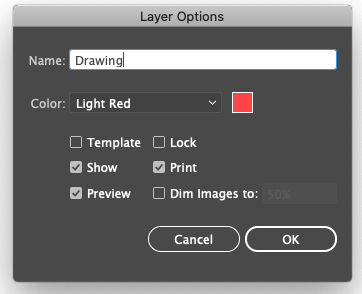
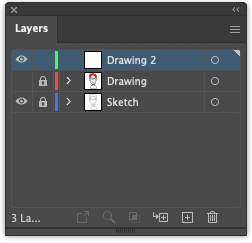
Goto the Layers window and click to the left of Sketch in the box and a padlock will appear. This will lock the Sketch layer. Now on that same window in top right corner click on the three horizontal lines and create a new layer, naming it Drawing.
For the actual drawing you have two choices, the Pencil or Pen Tool. Let’s start with the Pencil.
Select the Pencil (N).
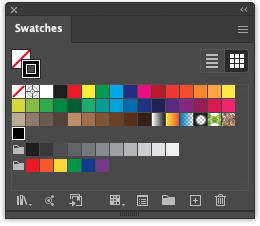
Then on your Swatches palette select black.
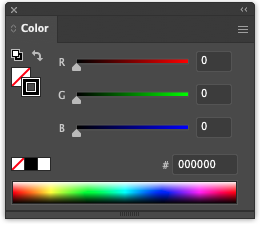
Note: by default the black on the Swatches palette is not full black and you can adjust this by selecting the Color palette (Window > Color) and then changing the RGB to all zeros or CMYK to C 36 M 25 Y 25 K 100.
Once you change the RGB color channels you can drag this newly created black outline icon over to the Swatches panel so you can use it in the future.
Be The Pencil
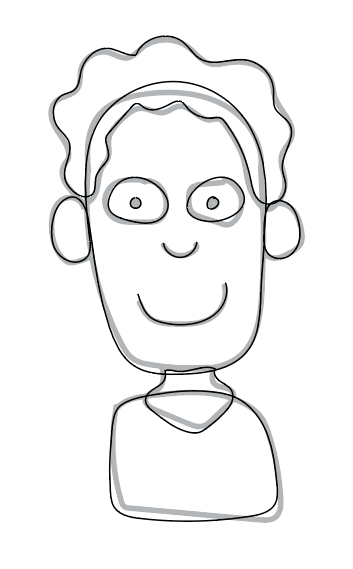
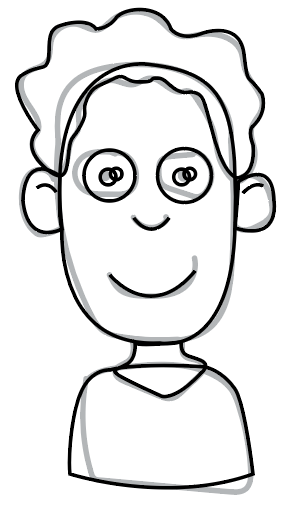
Now, trace over your sketch and get a feel for the Pencil Tool. Obviously if you are using a tablet this will be much easier than with using a mouse. You will notice after drawing one part if you draw another part that overlaps what you drew it will combine and parts will change or even disappear. This is one reason I don’t always use the Pencil Tool at this point, but it is great and can be used for your Adobe illustrations.
Play around with the Pencil, just to get a feel of how it works. Just like the Brush Tool, you can double click the Pencil Tool and change the Fidelity to Smooth if needed.
If you draw something with the pencil and mess up, no worries, click Command Z (Ctrl Z in Windows) to undo. If you want to erase, use the Eraser (Shift E) to clean things up.
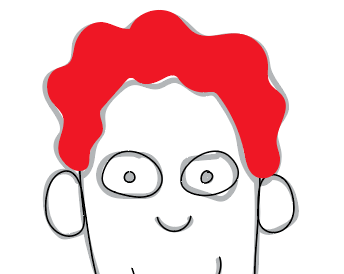
One thing the Pencil can do that the Brush can’t is you can fill color in without using the paint bucket. For example, click the Selection Tool (V) and select the hair your drew with the Pencil.
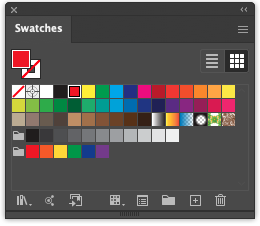
Now goto the Swatches palette, click on the fill icon. Pick a color and select it. Boom, color filled.
The Pen Is Mightier Than The Sword
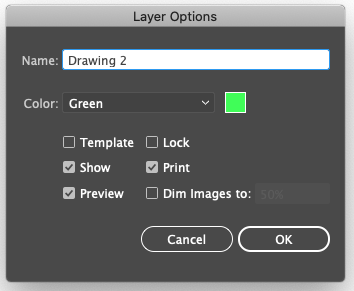
The Pen Tool may be my favorite part of the Adobe Illustrator arsenal. Goto Layers and create a new layer named Drawing 2. You can also click on the box next to the Drawing layer and lock it.
Click on the eye on that layer. This will make this layer invisible. Select the Drawing 2 layer.
Maybe, Save again. Always remember to save.
Select the Pen (P).
So the recent steps, your fill color should be whatever you choose to make the hair and the outline color is black. Goto swatches and click no color for fill color. Now you will just have black outline.
Anchor Points
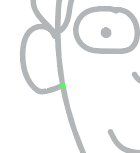
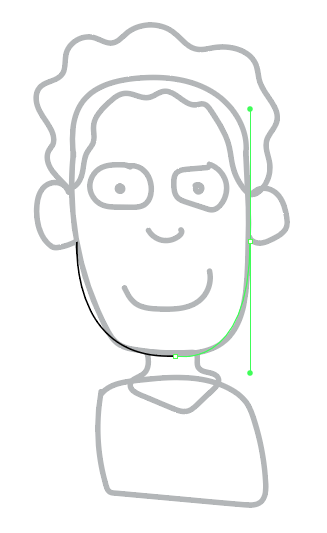
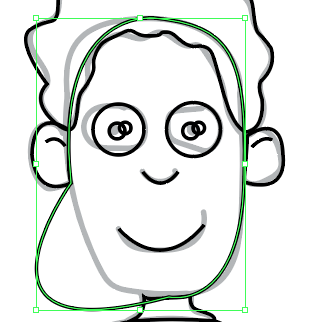
Let’s start with the head. Create your first anchor point. One click right below the ear, then move the mouse/stylus around and notice a preview line following your movement. Don’t click yet. Just want you to see how it tracks.
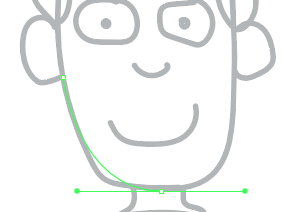
Move toward the center of the chin and click but don’t let go. Move your mouse/stylus to the right and left. Notice it’s like a rubber band. Pull it until you like how the stroke lays. Let go and you now have your second anchor point.
Click on your latest anchor point once before continuing otherwise it will adjust the continued stroke for you.
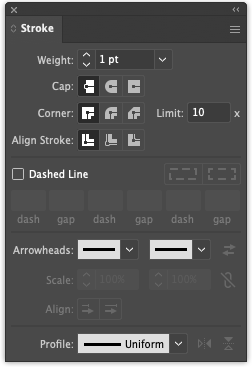
If the pen stroke looks to thick or thin, you can adjust this by going to the Stroke palette (Window > Stroke). Select the Pen stroke line you wan to adjust (Selection Tool) and then adjust the stroke weight.
You want to continue this going over your brush sketch creating multiple anchor points. As you draw with the Pen, play around with it and get a feel for the rubber band like effect before letting go.
Finish the basic shape of the head so it closes out.
Next, use the Pen to draw the remaining parts of your sketch. Do your best to close out each shape so they can late be filled with color.
If you ever need to end a Pen stroke, just click P. This will release the Pen.
If you’d like to add more anchor points to your drawing just select the path with the Selection Tool the select Pen Tool and click on path to add another anchor point.
Let There Be Circles
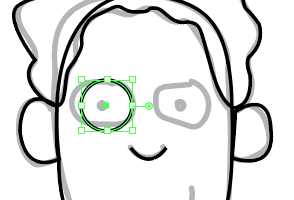
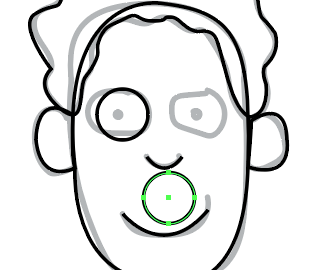
Now, when you get to the eyes and may be be going for that cartoon circle eye look but not feel like drawing a circle? Ellipse Tool time! Click on the Ellipse on the tools palette (it may be hidden behind the Rectangle icon) to the left or hit L on your keyboard.
Click on the top left corner of the eye but don’t let go. Drag the oval down to the right while holding the Shift key down. This will create a nice circle shape. Release the mouse button or lift your stylus pen.
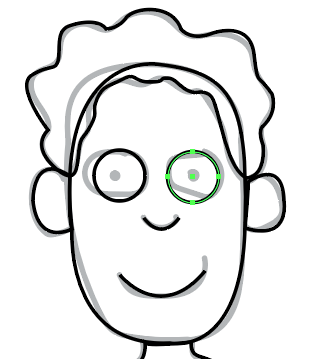
Now for the next eye you can repeat this step or just copy and paste. Click the Selection Tool (V) and select the eye outline you just created. Command C, then Command V. Wallah! Second eye outline.
Move this eye outline over to where you want it on your sketch.
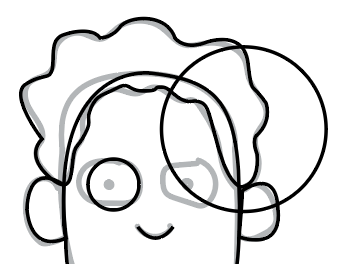
Want to rotate the eyes, or maybe enlarge them? It’s ok to change things up. I use the sketch as a foundation, and a a lot of the time adjust a bunch of stuff. Select the Selection Tool (V) and click on the item you would like to rotate and/or enlarge.
Select the Scale Tool (S) and pull on a corner. If you hold Shift while doing this it will scale equally without distorting.
Click on the Rotate Tool (R) and select the part or shapes you would like to rotate.
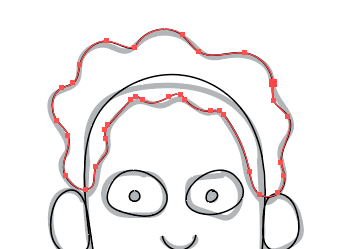
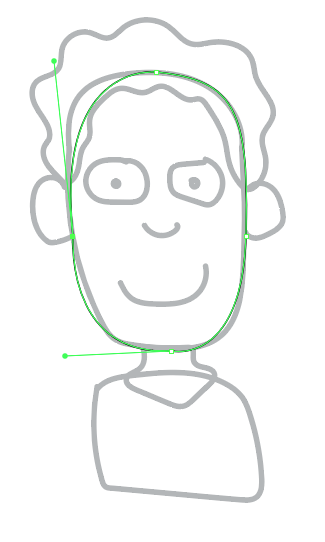
You can always adjust, that’s a great think about Adobe Illustrator. Say the shape of the head you drew with the pen looks funny. Using the Direct Selection tool in Illustrator allows you to fix this by adjusting anchor points.
Select the Direct Selection Tool (A).
Click on an anchor point on the head.
You will see a colored line display. Click on the point on that line’s end and do not let go.
Pull it around and see how it adjusts the curves of the stroke line. Let go when you are happy with the outcome.
Never fear, you may always Command Z (Ctrl Z Windows) and Undo.
Fill In Colors & Arrange
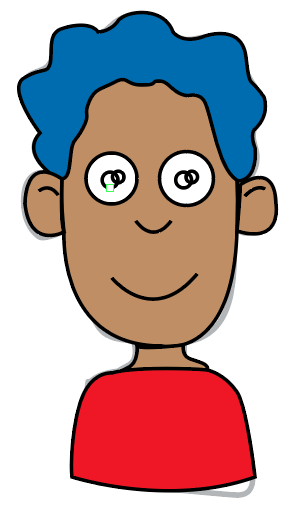
Selection Tool (V). Select parts to start filling in with color. Let’s start with the hair. Select the hair. Goto Swatches, select color for the fill.
Select the head and pick a color.
Continue with eyes, ears, neck, shirt, etc.
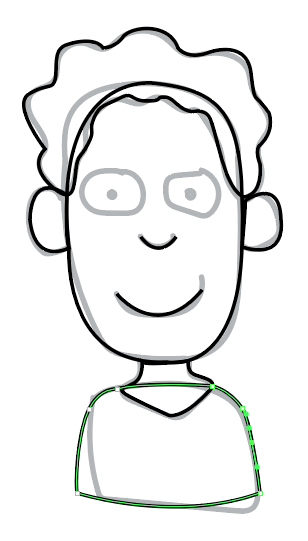
You may notice some parts of your drawing are overlapping other parts. We can arrange items by moving them behind and in front of other parts. For example, select the shirt and goto Object > Arrange > Send To Back (Shift Command [ ). Shirt is now behind the neck.
You may do this to bring things to the front by using Object > Arrange > Bring To Front (Shift Command ] )
Click the eye on Sketch layer, on the Layers palette to make this layer invisible to clear things up.
Always remember to Save. Get in a good habit.
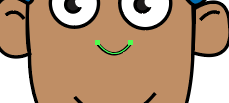
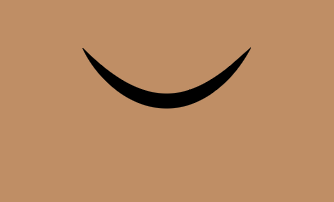
Notice the nose, mouth, and inner ear lines (strokes) are just plain lines? What I like to do is change the stroke style for these. Use the Selection Tool and click on the nose.
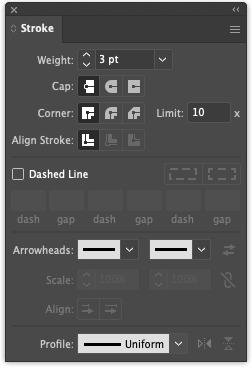
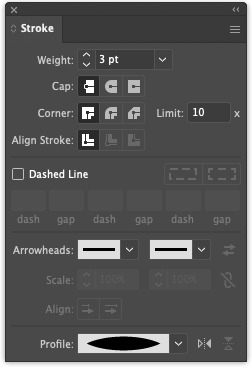
Now goto the Stroke palette and on the bottom of this window Profile: Uniform should be displayed. If it’s not click on the horizontal 3 lines on the top right corner and select Show Options.
Change Profile from Uniform to the next stroke option below it.
Nose looks a bit neater. Do the same for the mouth and inner ear lines if you wish.
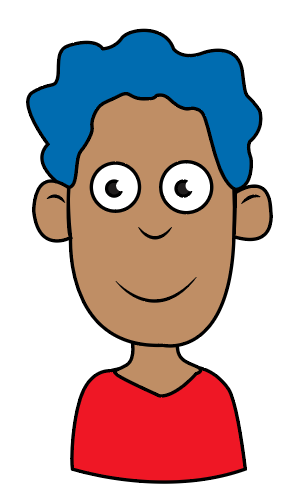
This Adobe Illustrator cartoon tutorial isn’t really about the final product, but to focus on some of the things we can do in the program when it comes to drawing. Ok, I drew this guy as I was taking screenshots for this article.
Drawing On The Ipad?
The Apple Pencil and iPad has its benefits. Are you drawing using Adobe Illustrator Draw or Procreate on the iPad? If you can’t afford a large drawing tablet that connects to your Mac or PC, use an iPad to sketch and draw on.
While Adobe Draw and Procreate are two of the best drawing tools, Adobe Illustrator can do more but is currently unavailable for the iPad.
Coming Soon: Adobe Illustrator for the iPad
At times I do like to start a drawing using Adobe Illustrator Draw or Procreate on the iPad but will finish it on my computer. A fun feature Procreate has is screen record. This will create an animation of your illustration process.
You can export drawings from Adobe Draw and Procreate to Adobe Illustrator on your computer and really fine tune them. One thing I recommend when drawing on the iPad is purchasing film that goes on the screen and has the feel of paper while drawing.
Don’t Get Frustrated
Adobe Illustrator is a great part of the Creative Cloud software, but it takes time to get used to for beginners. I have been using Illustrator to draw cartoons and design logos for over twenty-five years, and I am still learning new things about the program all the time.
If you are a traditional artist that stays away from technology you may just be used to paper or canvas, not computers. Just keep in mind Adobe Illustrator is yet another tool to create your art.
If you are not an artist and do not care to learn how to draw, learning Adobe Illustrator can help you in creating some interesting designs. Many out there use Illustrator to trace images. This tutorial should help you in the basics of what the application can assist you with.
There’s More To Learn
Hopefully this tutorial helps a bit with the Adobe Illustrator drawing basics. If there is a demand, I will do more Illustrator and Creative Cloud tutorials in the future. Possibly video Illustrator tutorials which would be easier to explain step by step.
Keep creating!
If you have any questions feel free to email me.
Joe Maracic
joe@loudegg.com
